Fusion 360 Game Asset Workflow Tutorial
Fusion 360 is getting popular among a lot of hard surface and concept artists due to it's powerful boolean/fillet tools and ability to create complex shapes with ease. My goal was to find out if this package is suitable for game art production. MoI3D has proven to be the key bridge software in this workflow. I have tried to run through my entire process and consolidate the steps into screenshots in this post. Hope you find this information useful :)


Above images are the end result of the game-res asset using the workflow I'll be sharing today. It's textured in Painter and rendered using iRay.

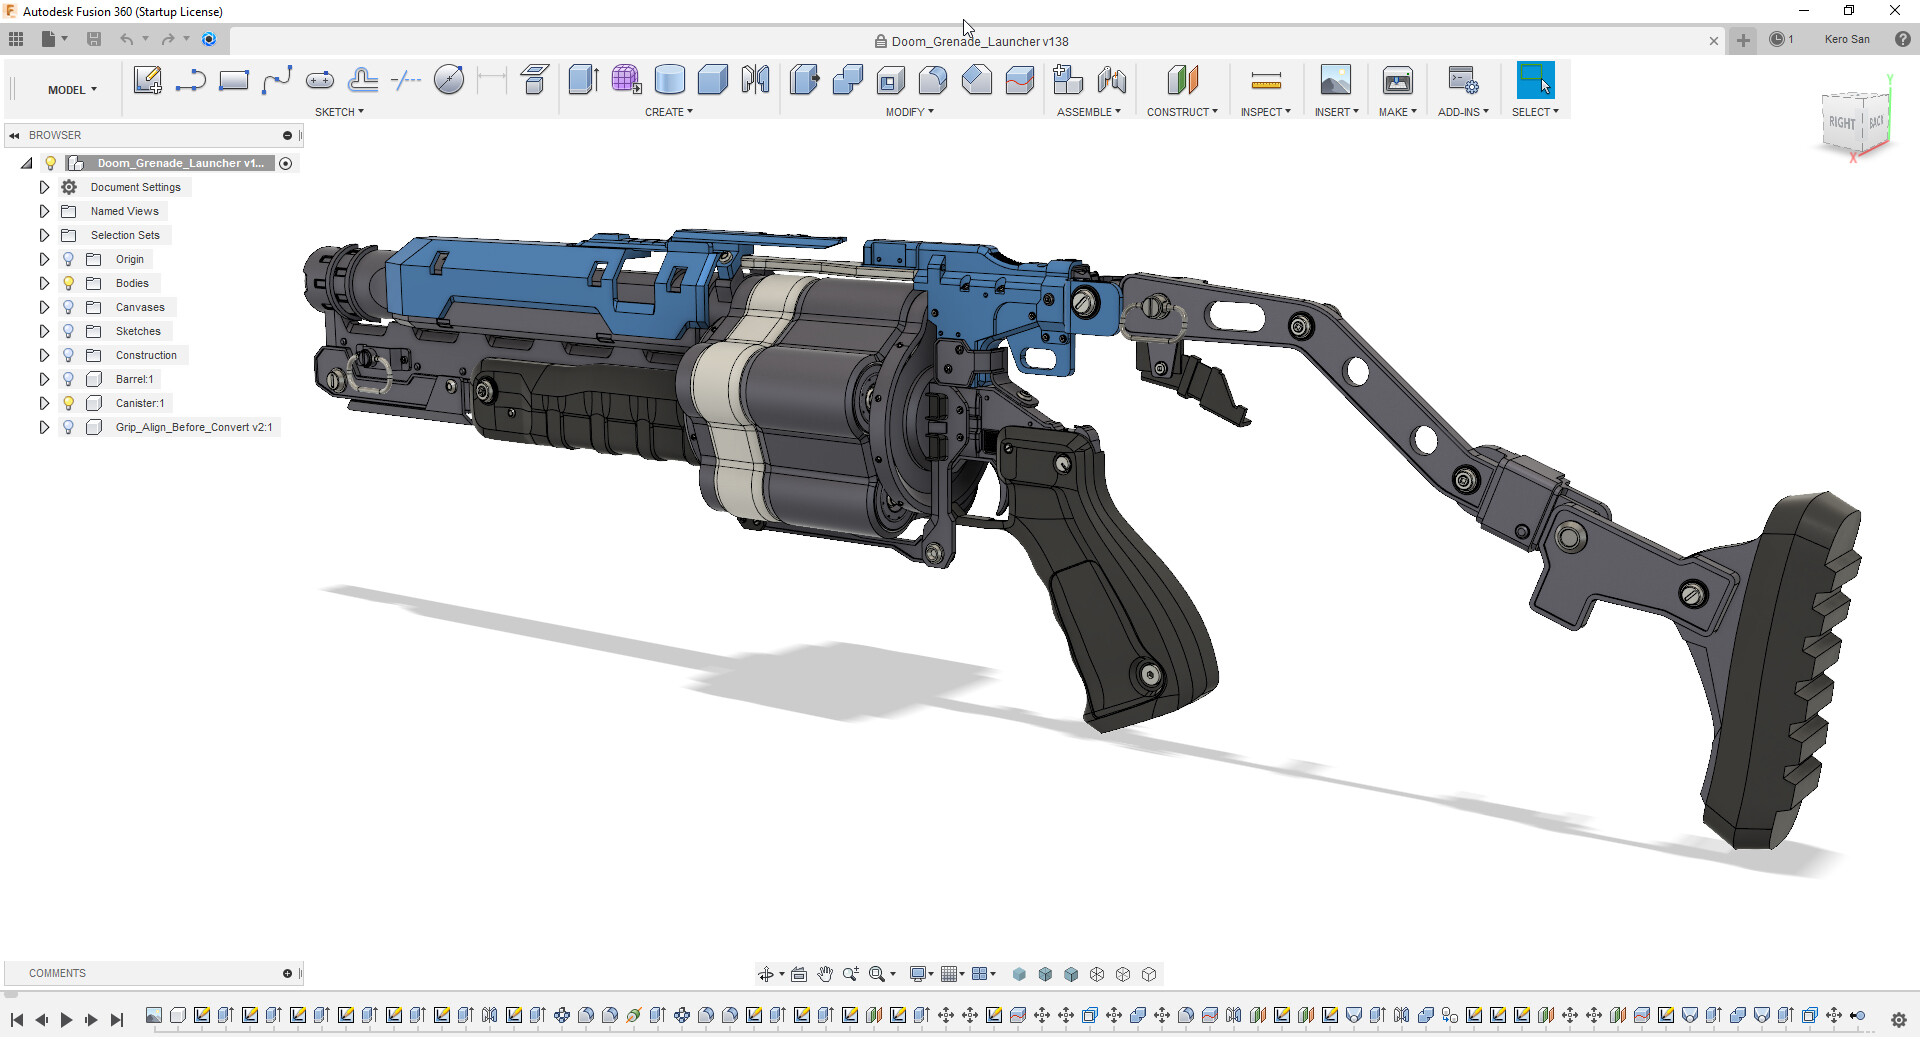
This is the high-res Fusion 360 CAD model I did while I was learning Fusion 360. It's rendered in Keyshot. You can find other renders in the previous post.
My suggestion is to model one side of the asset where possible and mirror later. Try to think ahead where you can have stacking UV and where you want to avoid mirrored seams. This will maximize UV space and also save time during the down-res process.

Another suggestion is to hold off on adding micro fillets/bevels and small details for the time being. Export the model to MoI3D in IGES, SAT or STEP which are all CAD file formats that MoI3D supported. IGES is what I used.

MoI3D is the key package that is used to convert CAD data to polygon meshes. It saves a lot of time comparing retopo manually.

When you first imported your CAD file, you will notice the model is rotated. You can change the default orientation by editing the .ini file as shown. However, this step is optional. You can always rotate the model inside Maya/3dsmax etc.

The export process is pretty straight forward. MoI3D can give you clean mesh that's about 70-80% game-res ready.
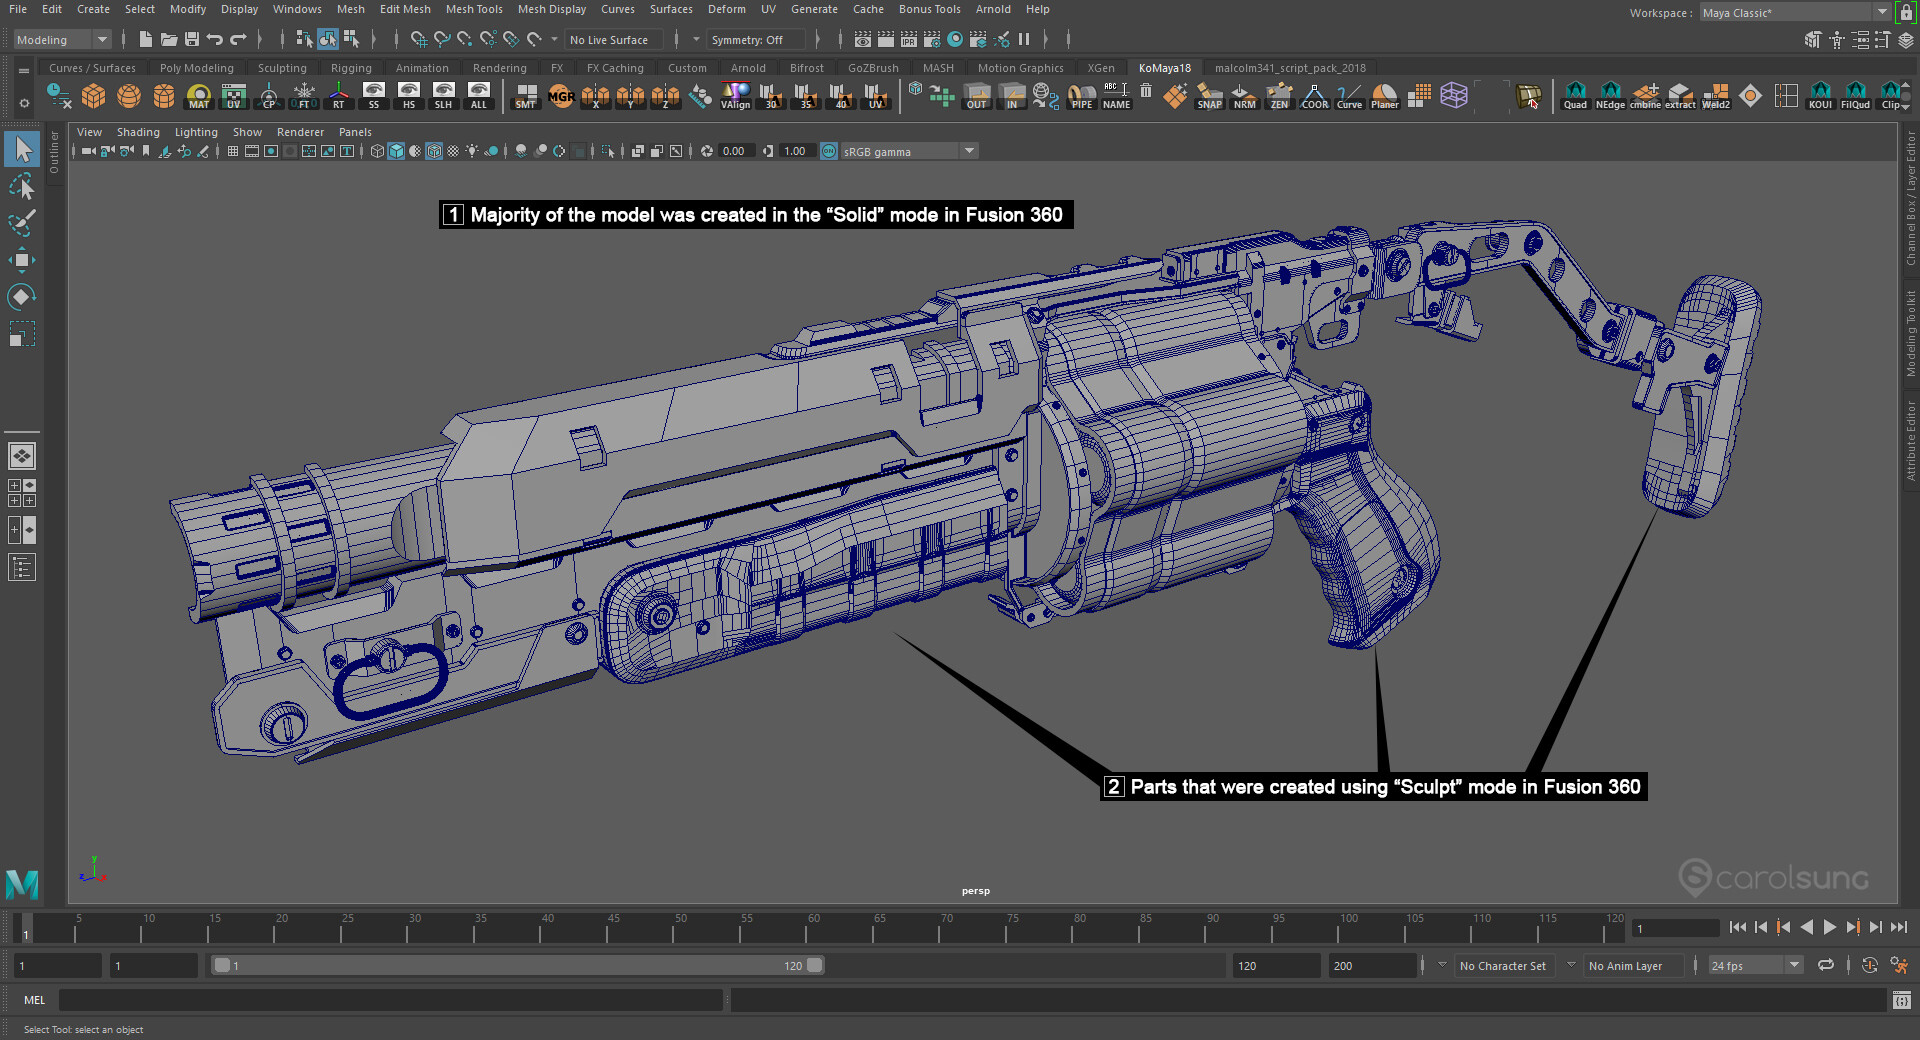
You can see MoI3D did a very nice job for majority of the model. The more organic parts which were created in the "Sculpt" mode are more messy that requires some manual cleanup.

This is the final game ready model after cleanup and optimization.

Now you can go back to Fusion 360 to add all the fillets and micro details.

For the high-res model, you can choose to export directly inside Fusion or MoI3D if you wan to have more control. I just export the gun out from Fusion using default setting. I do the high/low naming and organization inside Maya.

I did the baking and texturing in Substance Painter. So that's it for my quick workflow sharing. Hope you will find this helpful. Cheers!